Guide >

Sound list and context menus

Show useful columns, organize candidates, locate original files, and transfer assets to the DAW.

01

Columns and sorting

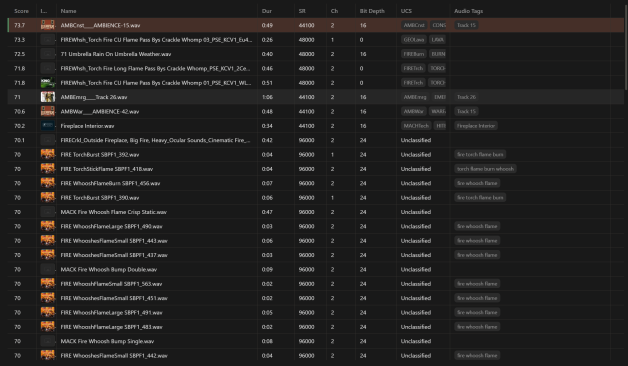
  1. 01Click a column heading to sort by a value such as name, duration, or sample rate.
  2. 02Right-click the header to choose basic, Metadata, and UCS columns. Hide those you rarely use.
  3. 03Drag column edges to resize, or use the menu to fit widths or restore defaults.
View full image ↗
02

What can I do from a sound’s context menu?

Add to playlist
Collect candidates for comparison without duplicating the full library.
Browse folder / Reveal in Explorer
Browse that directory in the app, or locate the original file in Windows.
Spot to Session
Send selected audio to the connected REAPER project. Check the project and destination first.
Send to folder
Send sounds to a destination directory; check the resulting files afterward.
Rename
Change the original audio filename, not just a list nickname.
Remove from playlist
Remove a playlist association, not the original file on disk.
Font size
Change list reading size only.
03

Narrow results with the file path

The selected sound’s path is shown as directory segments. Click a parent folder to browse within it. If expected results disappear, check that scope, checked databases, and filters before assuming the files are missing.